How to repair a PC
Setting your workplace up
- You need adequate clothing.
- Prepare all needed tools.
- Put the PC where it feels comfortable, this means on the floor. Desktop
PCs should be put on the side with the harddisk to the top.
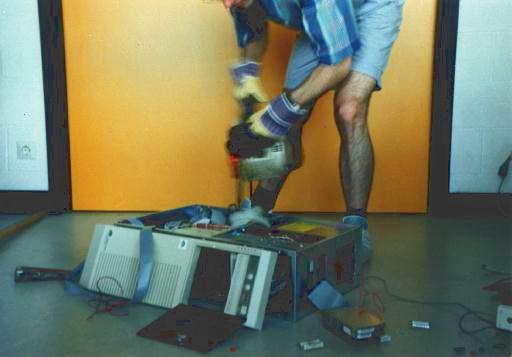
- Start with the first tool you have at hand.
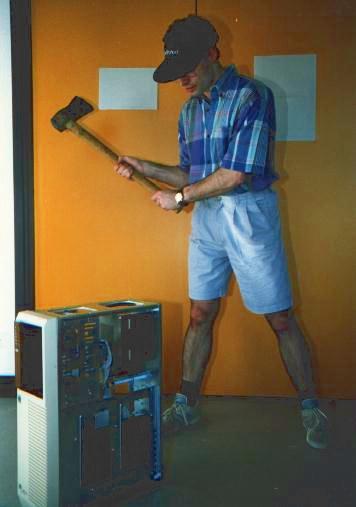
- Operate the tool firm and gently
- Stay away while the PC automatically takes the most optimal position
to facilitate further repairs.
Locating parts
- Now you can start to repair the interior of the PC.
- First locate the part inside the PC to be repaired.
- A static eliminator wrist is necessary if you have sensible boards installed in your PC
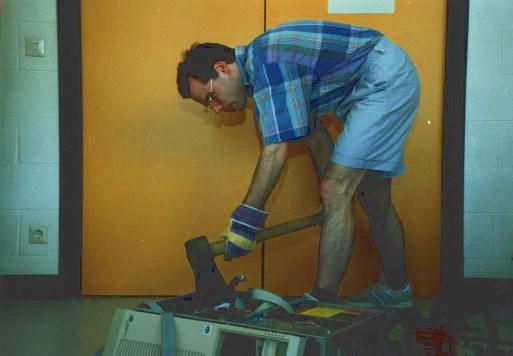
- After having located an item inside the PC you can repair it.
Repairing more on the PC
- To get the movement correctly you should practice first on
non PC parts like wood.
- Repeat this until you think the PC is in a good shape for the next step.
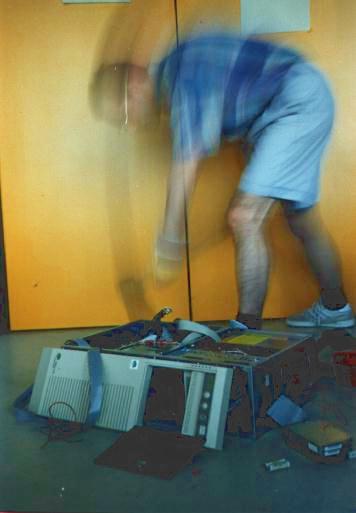
- OK now that you have done all repairs, it could be that some things
still work. If that's the case go to the next step.
Using motorized tools
- This is the most interesting part of repairing.
- A motorized tool repairs even the most resisting parts of a PC.
- A motorized tool helps saving a tremendous amount of time.
- Motor tools are especially suited to commit repairs deep inside the PC
- Like before locate the part to be repaired
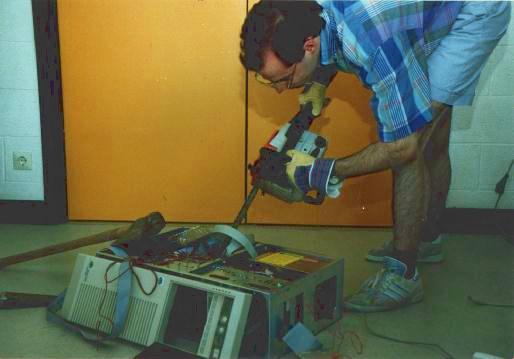
- You are now ready, start the motor and repair!
- Note that safety glasses are a recommended accessory for this.
Final repairs
- Operate the tool in a slow rotating way
- Harddisks and cables can be fittet like this
- Now your repairs should be finished.
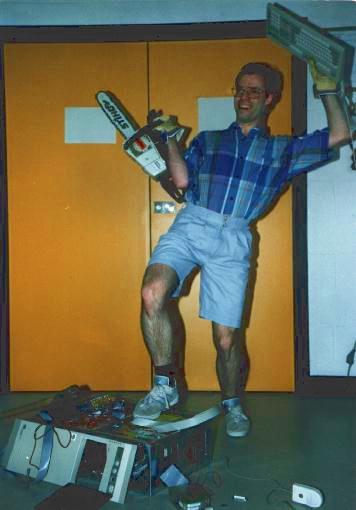
Successful reparation
- If the PC still works, you should look like this.
Bahh shit still alive, but good fun!
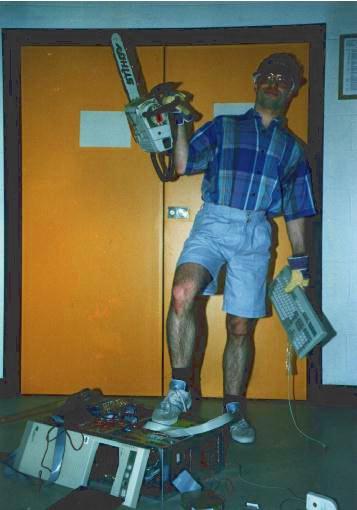
Unsuccessful reparation
- If the PC isn't working any more, you should look like this.
Cool! One PC less on earth. Life is again worth living!
Comments? Mail me!
Thanks for all the supporting e-mail, I appreciate very much!
More? The illustrated Guide to Breaking Your Computer

This site was chosen Geek site of the day 12 Sept 1997
26 Nov 1998:
Thelaughin Best of the Web Award

Back
Thanks to Romain for the photos